How to Make a QR Code for Your Restaurant Menu in 2026 (Step-by-Step Guide)
A paper menu is expensive to print, hard to update, and easy to lose track of. Every time a price changes or a dish sells out, you either reprint the whole thing or cross items off by hand. A QR code menu solves that problem: guests scan a code on the table, and the menu opens on their phone. You can update it in minutes, and you can show photos, allergen notes, and specials without adding more cost.
This guide shows you how to make a QR code for your restaurant menu from start to finish. You will learn how to prepare the menu page, generate the code with a free online tool, test it before printing, and place it on the table so guests scan without asking. You don’t need a developer or a paid subscription to get started.
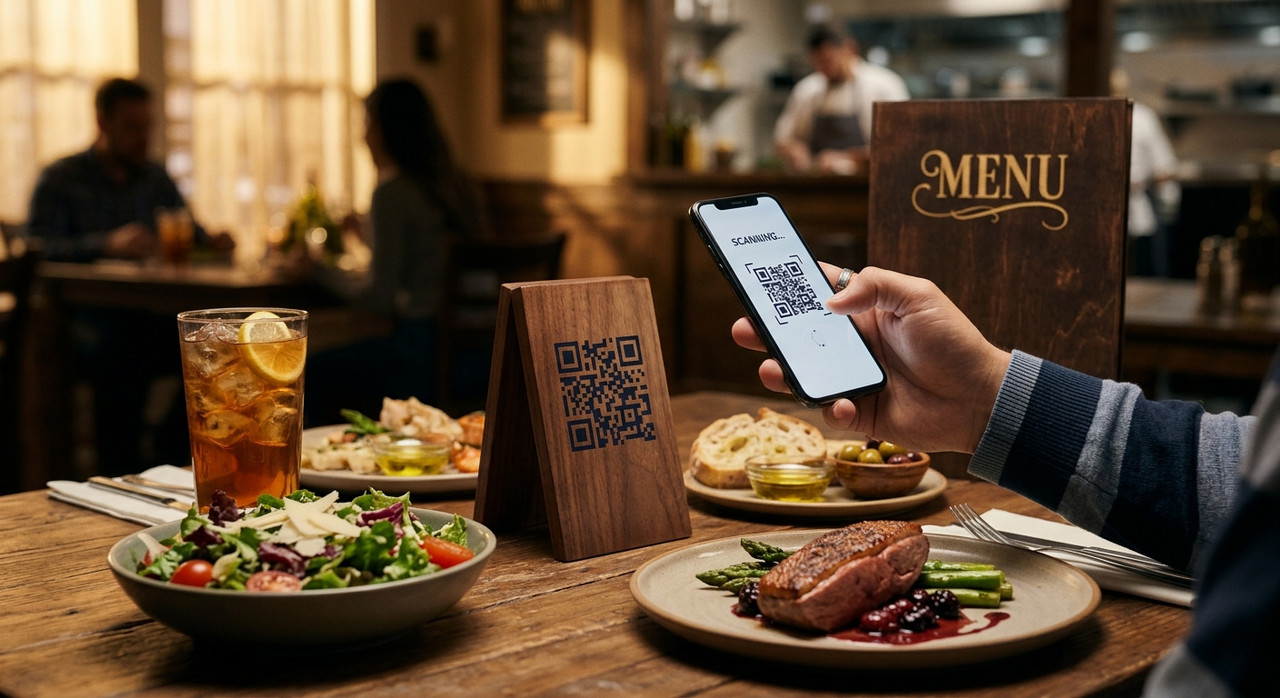
1. Prepare Your Menu as a Mobile Page
The menu needs to work on a phone before you generate any code. Most guests will open it on a small screen, often with one hand, and often on a mobile network that isn’t very fast. A page that works well in those conditions will keep guests reading.
- Use a single column with clear section titles such as Starters, Mains, Drinks, and Desserts.
- Keep the text large enough to read without zooming. Small type forces guests to pinch and scroll.
- Compress your photos. Heavy images slow down loading, and guests may leave before the menu appears.
- List prices clearly next to each item, in the currency your guests use.
- Add allergen and dietary notes such as vegetarian, gluten-free, or contains nuts. Check local food labeling rules, since requirements vary by country.
You can host the menu on your own website, a PDF link, or a simple page built with a website builder. A PDF works, but make sure it opens quickly and fits the screen without sideways scrolling. If you update prices often, a web page is easier to maintain than a PDF.
2. Decide What Your QR Code Will Link To
The code should point to one stable address: the menu page itself. Avoid sending guests to your homepage first, because they then have to search for the menu. Avoid links to a file in a cloud folder, since many services show a preview screen before the file opens.
Before you generate the code, open the link on your phone in a private browser window. Check that it loads quickly, shows the current prices, and doesn’t require a login. Also check that the address starts with https://, which most phones expect for a secure page.
3. Generate Your Free QR Code
Open the free QR code generator on this blog and paste your menu link into the text field. Click Generate QR Code, and the code appears on the same page. Because the tool runs in your browser, you don’t need an account, and the link isn’t stored on a server.
Before you save the image, double-check the link letter by letter. A small typo will send guests to an error page, and the printed code can’t be corrected after it leaves your hands. Download a clear, high-resolution image so the printer can produce sharp edges.
4. Choose Static or Dynamic for Your Menu
A static QR code stores the destination directly in its pattern. It never expires and costs nothing, but it always points to the same address. This works well when your menu lives on a stable page that you control, and you update the content on that page instead of changing the link.
A dynamic QR code points to a redirect address that a service manages. You can change the destination later without reprinting. This is useful if you move your menu to a different platform or run seasonal menus at different addresses. The tradeoff is that many dynamic services charge monthly fees or limit scans, so read the pricing before you commit. For most small restaurants, a static code pointing to a page you own is the simplest choice.
5. Test the Code Before You Print
Testing is the step that saves reprints. Check the code in the situations your guests will create:
- Scan with an iPhone and an Android phone. The native camera on iPhone and the camera or Google Lens on Android both read standard codes. Confirm the menu opens on each one.
- Scan it at the real size. Print a test copy at the size of your table tent, then scan it from the distance a seated guest would use.
- Scan in dim light and in daylight. Restaurants often have low lighting and glare from windows or glass. Test both conditions.
- Scan it on a cloth or a glossy surface. Reflections can block the scanner, so compare matte and glossy finishes.
If a scan fails, enlarge the code, increase the contrast, or add more white space around it. Make sure the table tent doesn’t have a pattern or photo behind the code.
6. Design a Code That Fits Your Restaurant
A code can match your brand, but the scan comes first. Use a dark color, such as black, deep navy, or dark green, on a white or cream background. The generator on this blog uses a dark navy tone on white for this reason. Avoid pale colors for the squares, and avoid placing the code over a photo or a patterned background.
If you want a logo in the middle, test it carefully. A small logo can work, but a large one may hide too many squares. Scan the code again after adding any design element, since small changes can affect readability.
7. Place the Code Where Guests Will Find It
Placement decides whether the code gets scanned. Put it where a seated guest can see it without leaning or asking a server for help. Good options include:
- Table tents that stand at eye level, with the code facing the guest.
- Stickers on the table, placed away from the place settings and the edge of the table.
- A small sign near the entrance for guests waiting to be seated.
- The receipt or the bill, with a line that invites guests to scan for their next visit.
Avoid placing the code where it can be covered by a plate, a glass, or a salt shaker. Also avoid the back of a menu board, where guests can’t reach it, and surfaces that people touch often with greasy hands, since stickers peel and codes get dirty.
8. Add a Short Explanation
Some guests have never used a QR menu, and others aren’t sure whether it is safe to scan. A short line above or beside the code removes the guesswork. Try wording such as:
- “Scan to see our menu”
- “Scan for today’s specials and drink list”
- “Scan to order from your phone” (only if you offer that service)
Keep the sign simple and readable from a short distance. If your menu changes by season, avoid printing dates on the sign so it stays useful longer.
9. Protect Your Menu From Fake Stickers
Codes can be copied. Some people place fake stickers over real ones, sending guests to pages that look official but collect payment or login details. You can reduce the risk by checking your tables regularly, especially after busy nights, and by replacing damaged codes quickly.
Tell your staff what your official code looks like and where it should be. If a guest mentions that a code leads somewhere unexpected, ask them to show you the sticker, and remove any extra stickers you find. Keep your menu page clean, without pop-ups or requests for personal data.
10. Keep Your Menu Up to Date
A QR menu is only useful if it matches what your kitchen serves. Set a routine for updates, such as checking prices every Monday and marking sold-out dishes before lunch service. If you use a static code, the update happens on the page, so the printed code never needs to change.
Ask your staff to report problems, such as broken links, missing prices, or photos that load slowly. A quick weekly check protects the experience for every guest.
11. Track Scans and Improve
Measure whether the code helps. Add a simple tag to your menu link, such as ?source=table, and check your website analytics every week. Compare the number of visits with the number of covers, and notice whether guests use the menu during busy hours or quiet periods.
Change one thing at a time. If scans are low, try a clearer sign, a better position on the table, or a larger code before you redesign the menu. Small adjustments show you what works without guessing.
12. Common Mistakes to Avoid
- Printing without testing: A small error can ruin an entire batch of table tents.
- A slow menu page: Large photos and heavy files make guests give up.
- Tiny text on the phone: Guests shouldn’t have to zoom to read prices.
- No explanation: Guests won’t scan a code they don’t understand.
- Outdated prices: A wrong price creates friction at the register.
- A code hidden under objects: Plates and glasses can block the scanner.
13. Your QR Menu Checklist
- Build a mobile menu: Single column, readable text, and compressed photos.
- Check the link: Use a stable https address and test it on your phone.
- Generate the code: Use the free tool and save a high-resolution file.
- Test on two phones: Check in dim light and at the real table-tent size.
- Add a short explanation: Tell guests what they will see.
- Place it at eye level: Keep it clear of plates, glasses, and condiments.
- Review prices weekly: Keep the menu accurate.
Ready to make your menu code? Open the Free QR Code Generator and create a code for your restaurant in seconds. Test it before you print, and your guests will scan it with confidence.
Keep Reading & Get More From Your QR Codes
A QR menu is one of the simplest ways to modernize a restaurant without a big budget. If you are planning your first printed menu code, start with the generator and build from there:
- Free QR Code Generator - Create a high-resolution code in your browser, with no account required.